Take Action
Transforming a landscape with native grasses takes time, and the best moment to start is now. Follow these 6 steps to make your project a success.
Initiate
Once you’ve learned about native grasses and decided to take on a project, it’s time to get started!
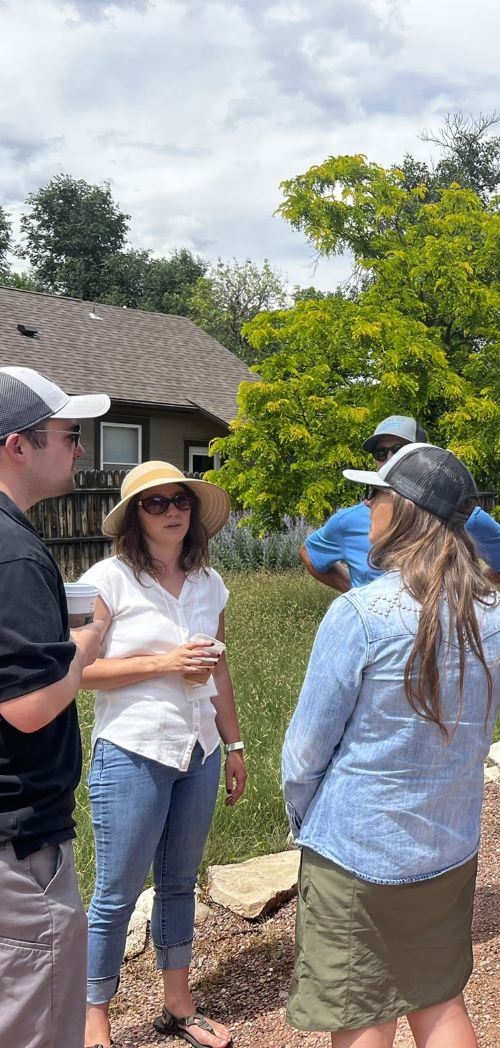
Compiling the right team is key for any native grass project. Finding people to bring the vision to life, reaching out to stakeholders, and fixing any irrigation system issues should happen early in the process to lay a strong foundation.
Stakeholders in your project should include anyone potentially impacted by the work, including community residents, the property owner or manager, the project manager, the governing board members, the municipal planning department, landscape contractors, irrigation and maintenance personnel, facility managers, and members of the larger community. Keep these people in the loop regarding the project’s purpose, scope, budget, and schedule so they can provide input and advocate for the project’s success.
From this group of people, form a project team. Delegate tasks and meet regularly to discuss progress, challenges, and solutions.
Before getting started, consider your water use and irrigation efficiency. Make any necessary repairs and upgrades to your project site’s irrigation system first. Then, define a water use goal—either a percentage reduction or an average annual gallons-per-square-foot goal. Projects are often funded based on a cost-benefit analysis of potential landscape projects’ water use goals.
Lastly, decide which areas will be converted to native or water-wise grasses by irrigation zone. Native grasses should be watered on a different schedule than traditional turfgrass, so it’s important to define and separate planned native grass areas based on your irrigation zones. Matching irrigation zones to the water needs of your new, native grasses will ensure these grasses can be watered less frequently than any remaining turfgrass, trees, or shrubs in the landscape.
Choose
After you’ve formed your team and evaluated the site’s irrigation, it’s time to choose your grass type(s).
Six steps to selecting your grass species:
- Identify your project site’s standards and requirements (if any), such as landscape standards, codes, covenants, or local governing entity reviews.
2. Work with your team to define project objectives, such as cost savings, environmental stewardship, and/or improved landscape appearance.
3. Map how different areas of your landscape will be used to determine which grasses will best meet your needs—e.g. for play/playgrounds, for pets, for pathways, or other uses like stormwater management.
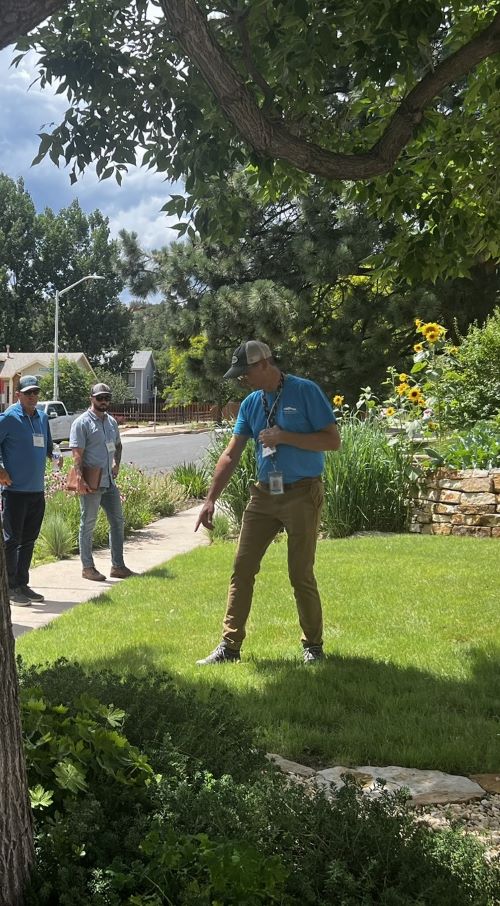
4. Identify the site conditions and constraints that will influence grass species selection—such as soil type, sun/shade, irrigation zones, station boundaries, and slopes or drainage.
5. Determine the aesthetic preference for your project, e.g. uniform and tidy, or more naturalistic.
6. With all of the above factors in mind, select your grass species.
Plan
When you’re ready to bring your project to life, follow these steps to
ensure your team has everything in place to achieve success:
1. Engage your project team and the broader community in project planning, and create a communications plan to update stakeholders at regular intervals or project milestones.
2. Identify your funding sources for the project, estimate project costs, and apply for any relevant grants or rebates (check with your municipality, water provider, or state, federal, and private entities for available programs).
3. Develop a Statement of Work (SOW) for your project, outlining the location, key tasks, and measures of success. The SOW can be used both as a communication tool and to ask for price bids from potential contractors.
4. Use your SOW to ask potential contractors for price bids and availability. Aim to gather more than one bid so that you can compare offerings from different businesses.
5. Finalize the site preparation and installation methods with your contractor. Include irrigation changes and upgrades identified in the initiate phase.
6. Complete any necessary municipal reviews. Check with your local government or regional building department; some require native grass projects to be reviewed and approved before the project begins.
7. Follow through on your communications plan with stakeholders and the community to keep them in the loop about your project’s goals and objectives, progress, and what they can expect to see.
Now it’s time to schedule the work!
Schedule
Performing tasks at the right time of year is critical to a project’s success. Work with your project team and contractor to map out a doable schedule.
1. Plan out the phases of your project with clear tasks and project team ownership at each stage. Ensure roles are assigned and communication channels are understood by all.
2. Native grasses must be planted at the right time of year. Choose a planting date according to these guidelines to anchor the rest of the project schedule.
a. Warm season grasses with irrigation should be planted between June 1 and July 31, depending on the weather. They germinate best when the soil is warm. Planting in early spring or late fall will result in poor germination and more weeds.
b. Cool season grasses with irrigation should be seeded from April 1 to June 15, or August 1 to September 15.
c. Seed mixes of cool and warm season species are best planted between May 1 and August 31 if the project has irrigation.
d. Unirrigated projects should be seeded between November 15 and April 1 to take advantage of spring moisture, regardless of warm or cool season species.
3. Allow enough time for killing or removing the existing grass and weeds. If herbicide will be used, begin at least six to eight weeks before the planting date so the herbicide has enough time to work and can be reapplied, if needed.
4. Schedule regular irrigation, germination, and weed checks with your contractor after planting. These meetings will help the team catch any problems early before they derail the project. Weekly visits for the first two months can be very helpful.
5. Keep stakeholders and the community in the loop about your project’s schedule and what they can expect to see.
With a solid timeline in place, it’s time to get to work!

Install
Because most native grasses grow from seed, proper site preparation and planting is critical for your project’s success.
For most species of native grass, you’ll follow these five steps:
1. Kill or remove any existing weeds and grass. There are four ways to go about this:
a. Herbicide: Effective in killing persistent species while preserving valuable organic matter/topsoil. It often takes 2+ herbicide applications to entirely clear a landscape, so build enough time into the project schedule for several applications.
b. Sod cutter: The quickest method to remove existing grass, but also removes valuable organic matter and topsoil. Existing turf grass and weeds may also regrow from roots, and there’s a chance that removing grass in this way could trigger stormwater and sediment control measures.
c. Cardboard method: For small projects, wet the soil thoroughly and cover the area in cardboard and mulch for a year to shade out existing grasses and weeds. Rake off the mulch and any remaining cardboard before planting.
d. Silage tarps: Large, light-proof tarps commonly used in organic agriculture for pre-planting weed control. Highly experimental but worth considering if they work for your site conditions and schedule. Should not be used around trees or other landscape plants.
2. Plant native grass at the appropriate time of year with the appropriate equipment, using the correct seeding rate and planting depth. See specific recommendations for the different native grass species here.
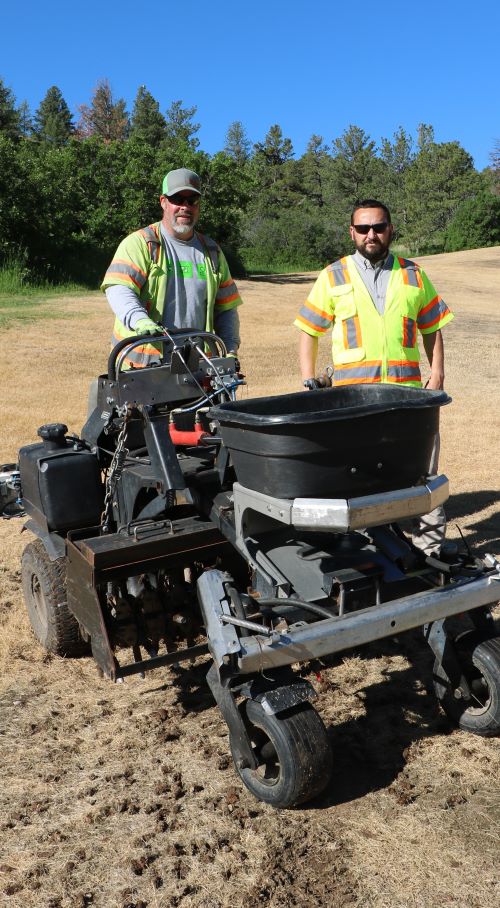
3. Most native grasses are installed by seed. Plant native grass directly into the dead weeds and/or grass after core aerating or with a slit seeder, so long as the soil is not compacted. If the soil is compacted, rototill the area before planting.
4. Water your new grasses frequently to help them germinate and grow. Reference our watering guide on page 28 of the Installation and Maintenance Guide.
5. Manage weeds regularly during establishment to give seedlings the best chance for success.
Maintain
Native grasses require different care than traditional turf grasses—and the long-term success of any native grass project relies on its management plan.
Who will be maintaining this new landscape? Regular training, project site visits, and frequent communication will ensure your team holds the keys to helping your native grasses thrive. Your maintenance staff and contractors may not be familiar with how to care for native grass—so it’s important to establish a clear, shared understanding of how the landscape should look, what maintenance inputs it requires, and what to do if an issue comes up.
How will the landscape be watered? Native grasses can be watered in a variety of ways, and most don’t require winter watering at all. Reference our grass species pages for species-specific watering recommendations.
Most native grass areas can be fertilized less often than traditional lawns. And while they technically don’t need to be fertilized at all, periodic fertilization will make your grass thicker, denser, and potentially greener. Where native grass is used as a lawn replacement or a low-water groundcover, fertilize warm-season grasses once or twice in June or July. Native grass mixes of warm- and cool-season grasses can be fertilized once in May. Low-input, naturalized, or restored areas do not need to be fertilized at all.
Ideally, proactive weed control early in your project will lessen the need for long-term weed control outside of spot-spraying troublesome plants. Don’t use traditional lawn weed killers on native or water-wise grasses; instead, opt for pre-emergent weed control products and weed control strategies selected specifically for the species of weeds and grasses in your landscape.
A variety of mowing approaches can be used in native grass areas. Check with your HOA or city ordinances to determine if mowing height rules apply to your site. The more often an area is watered, the more mowing it can tolerate: non-irrigated areas should be mowed no more than once every 90 days, whereas irrigated areas can be mowed no more than once every 30 days. Do not mow native grasses weekly as you would traditional turf grasses.
Download the full guide
Our complete guide has all the information you’ll need to get started—from step-by-step project-planning instructions.to species-specific planting and maintenance tips. Keep it on hand for easy reference at every phase of your native grass project.